Apps
The Apps section allows us to create external apps and connect them to thethings.iO. There are two types of applications:
- App. If you want to create an external app and connect it to our platform, it is your choice.
- Dashboard. We offer dashboards (so you do not have to develop your own app) for your app users. In order to create an app of this type you must have the White-labeling service enabled. Check our pricing if you do not have this feature enabled yet and you want to use it.
If you have chosen a Dashboard, then you have to specify the sub-domain of the URL that will allow your users to access the dashboard.
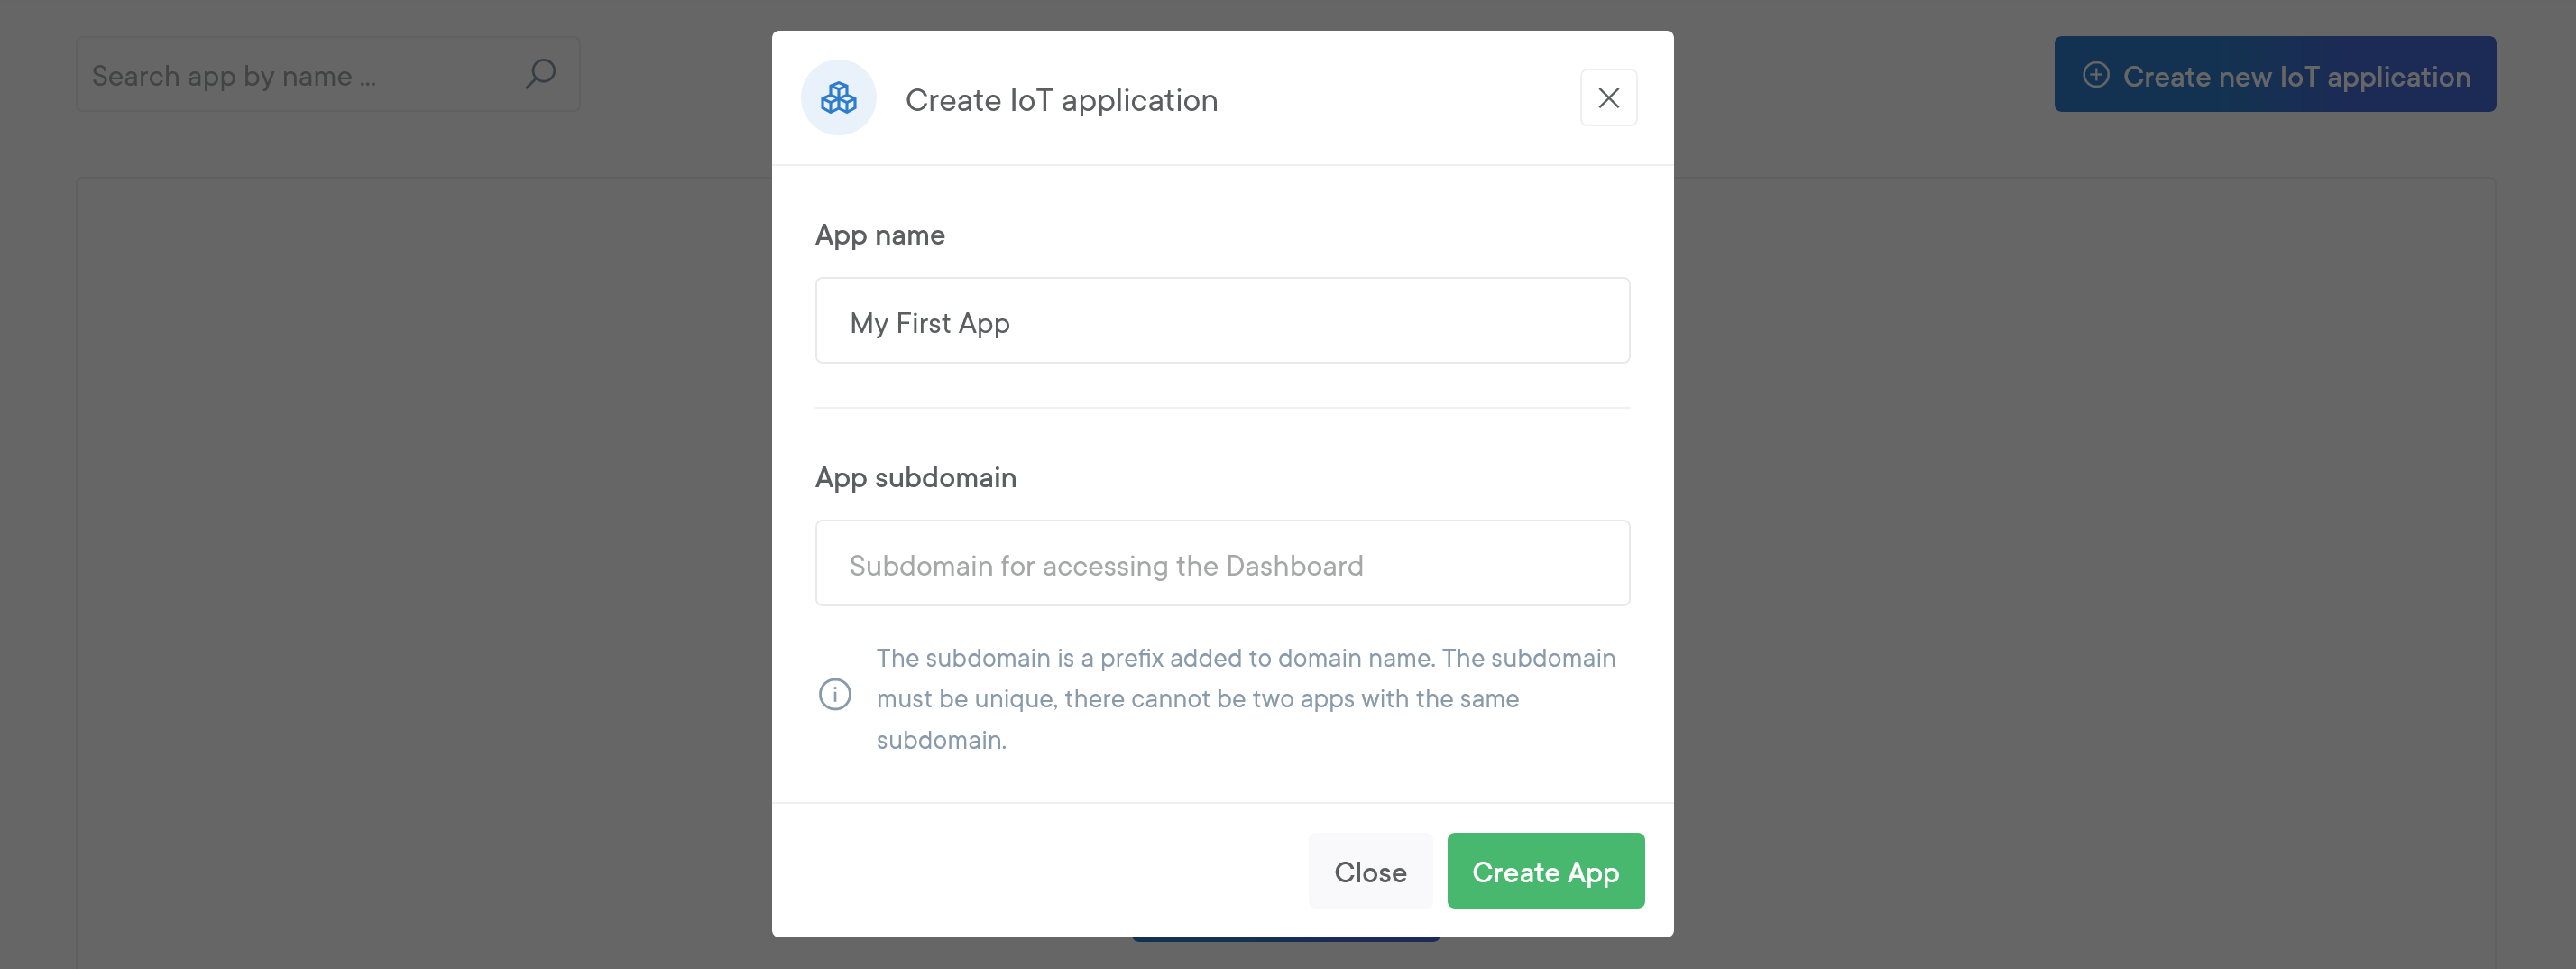
Create App View
For instance, if the subdomain is dashboard then the access URL will be dashboard.yourdomain.com. If you add a new sub-domain, contact us in order to configure it. Otherwise, it will not be accessible by your users.
Once the app has been created, the next step is to configure it. You can access the app detail by clicking on the Details button of the app.
App Detail
This view is divided in to three sections:
- Details: this section will contain the name of the app and also the app identifier or appId that will allow you to connect your app with our app's API.
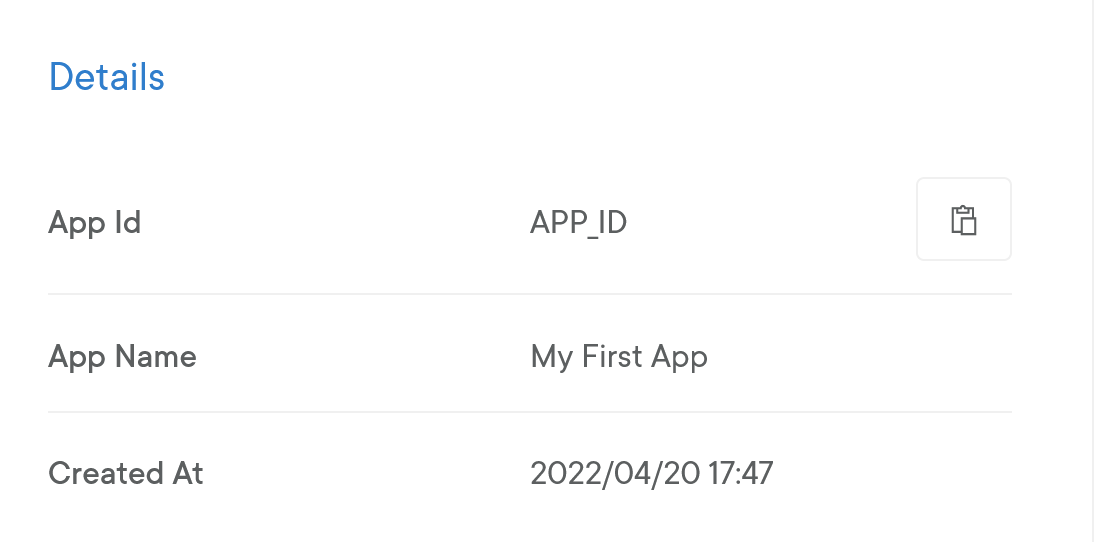
Details Section
- Options: this section will show three options if the app's type is Dashboard and only one (edit your app) if it is a normal app.
- Edit Your App Settings. You have to set up the app settings before starting to use it. You will find more information here) .
- Edit Your App Appearance (Only Dashboard Apps). This works like the White-labeling view. You can customize the colors and images of your dashboard app. You can edit the sub-domain here as well.
- Edit Your App Dashboard (Only Dashboard Apps). Preparing you dashboard is the last step before inviting users to access it. It works like the dashboard of your account.
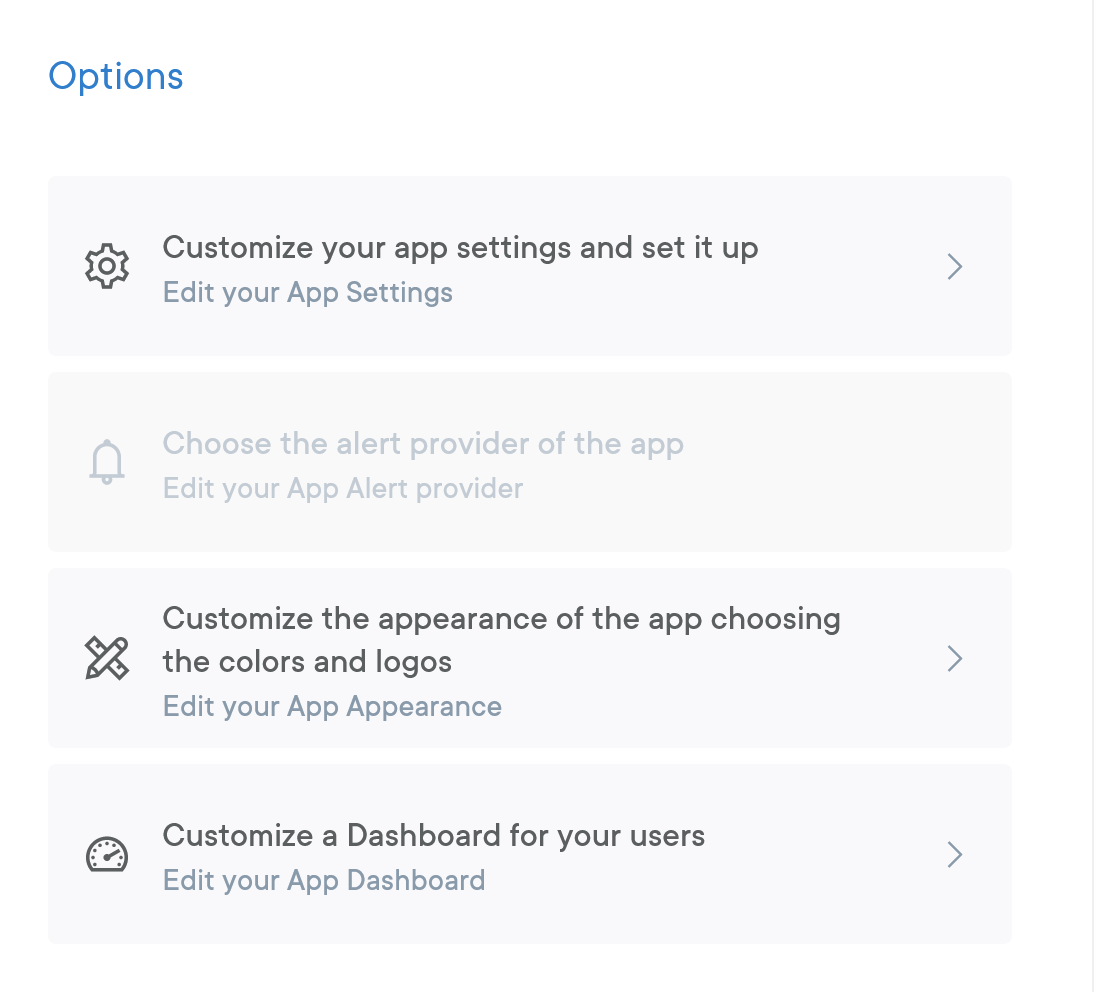
Options Section
- Users: this section will display a list with the basic information of each user. In addition, you can manage their permissions and tags. If you want to read more, click here.
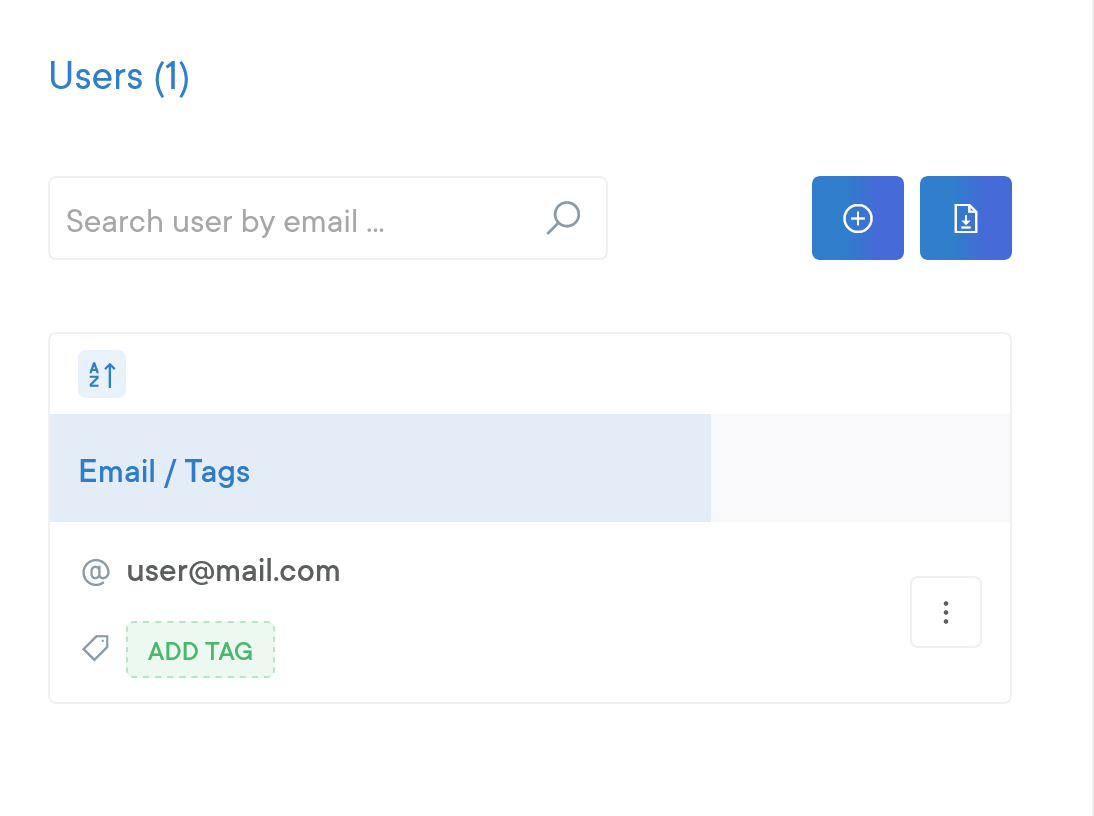
Users Section
App Settings
Before starting to invite users to our app or dashboard, it is necessary to set up your app. In order to do it, we need to understand first some concepts.
- Scope. The scope of the app is basically the elements from thethings.iO that needs the app to work. We can find here 4 elements: Apps, Things, Organizations and Device groups. Let's say that you app need information about things, then you have to include it in the scope.
- Scope Resources. If you have included Things inside the scope, then you have to write here the list of resources that your app needs. Thus, since you may want to make only some resources visible for the app, you can limit them here.
- Enable the register view (Only Dashboard Apps). This will allow your users to sign in manually to your Dashboard. Otherwise, they can only be invited by you (you have an option inside the users section).
- Enable link thing feature (Only Dashboard Apps). We offer end-user dashboard. If you enable this option, the flow will: (1) the user will sign up for your Dashboard App, (2) He/She will introduce the code of his/her device group (you have to provide him/her the code), (3) He/She will see a dashboard of his/her device.
- Show device dashboards instead of the app dashboard (Only Dashboard Apps). Let's say that your users can link to their account to a light and a fridge because you are selling them both device groups. In this case you have two device groups because you are collecting different information from each device (i.e. lights will have luminosity and fridges will have temperature as resources). You only have one dashboard in your app, but you want to display different information in each case. If you enable this option you will show the device dashboard of each device group instead of the app dashboard.
- Custom App Meta Information. If you want to store some metadata like the version of the app, you can define these fields here and get them from your app using our app's API.

Edit App View
Custom App Meta Information
This field has one reserved property: linkThingType. With this property you can set the default linkThing method to sigfox PAC mode for your end user Dashboards. If you choose this link method, first it's necessary to send to thethings.iO Team the PACs of the devices that your are using.
The other link thing method available for sigfox devices is to use the thingToken, or the Code generated below the thingToken at the things details.
linkThingType: sigfox |
User Permissions
Your users need certain permissions to see what you offer through the app. We offer a set of options to customize your users' permissions with flexibility. Throughout this section, we will describe the different available options to manage these permissions. You can either apply changes over a user using individual actions or more than one user using bulk actions.
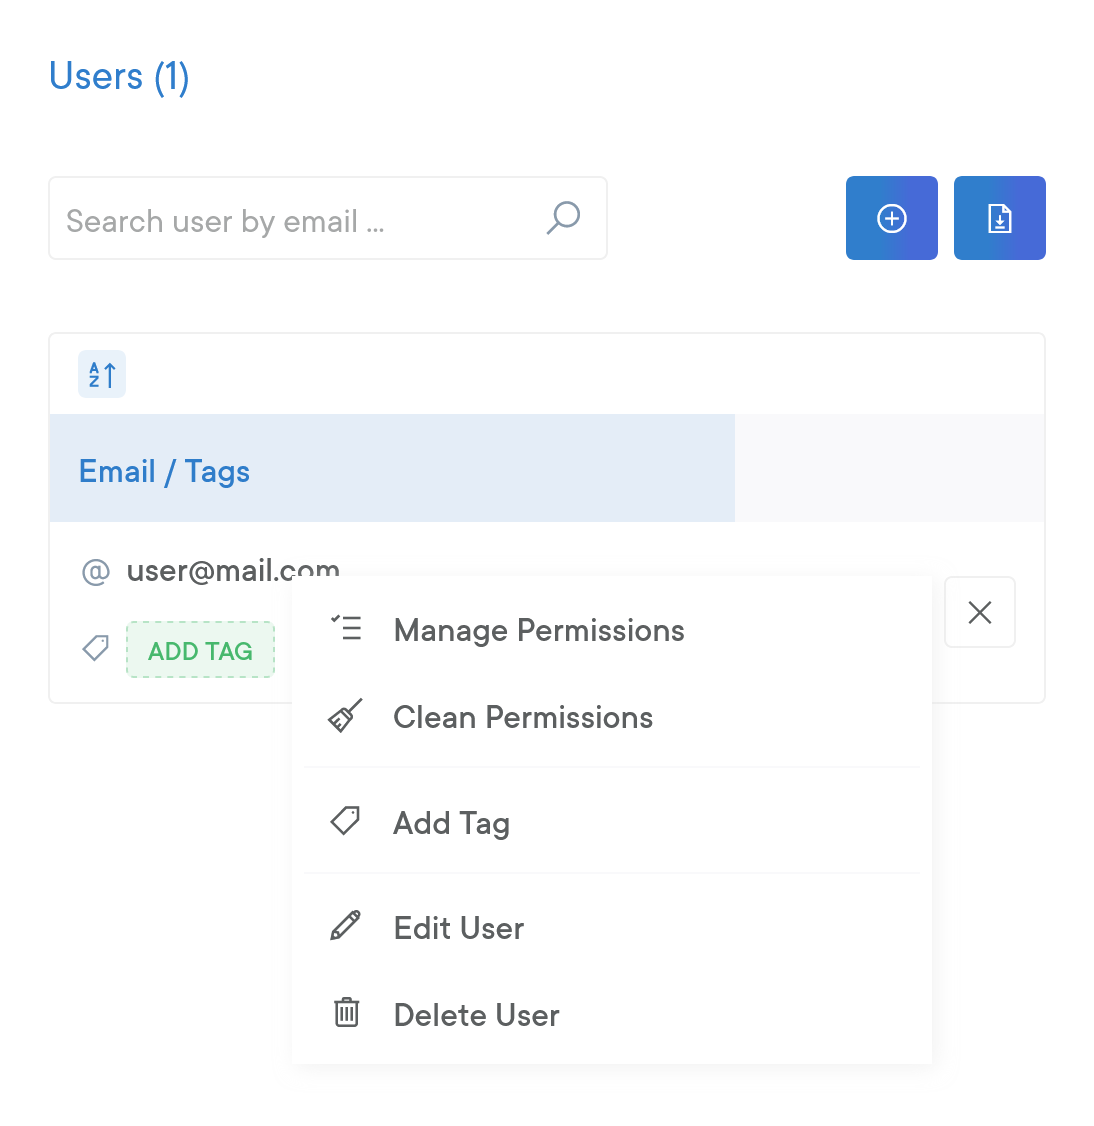
Available Actions
- List Permissions (Only on individual actions): list the permissions of the user.
- Manage Permissions (Only on individual actions): add and delete permissions. It will display the current permissions of the user.
- Grant Permissions (Only on bulk actions): add permissions to the selected users.
- Delete Permissions (Only on bulk actions): delete permissions to the selected users.
- Replace Permissions (Only on bulk actions): clean the permissions of the users selected and add the new permissions.
- Grant Dashboard Permissions (Only Dashboard Apps): gives all the required permissions to see the dashboard to the selected users. If you invite a new user, remember to use this option.
- Delete Dashboard Permissions (Only Dashboard Apps): removes the required permissions to see the dashboard from the selected users.
- Synchronize Resource Permissions: if you have changed the scope resources, you may need to apply this option to the users in order to update their permissions (it will add the new resources to the thing permissions).
- Copy Permissions: copy permissions from one user to the selected users.
- Clean Permissions: clean the permissions of the selected users.
- Delete User/Users: remove the users from the app.
- Add Tag: gives a tag to the selected users. If a user has the tag example then he will only see the things that have this tag as well (this filter only works on device group widgets).
Updated 8 months ago
